


Under Hood Restoration
- May 8, 2015
If you’re content with a clean looking daily driver, or if you display your car at shows but leave the hood shut, there’s probably no need for you to tackle this project. After all, who sees the underside of your hood? However, if you’re proud of all that effort you’ve put into detailing out your engine bay, you’ll want to pay attention to this.
The underside of this car’s hood was super nasty, never having been touched in over 4 decades. With the hood removed, now was the time to get down and dirty, and restore the underside to its factory fresh appearance.
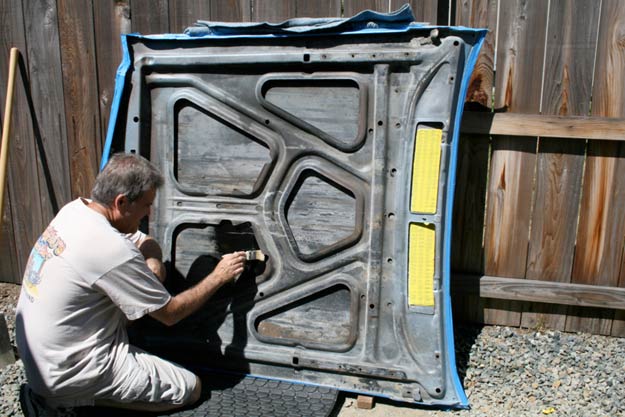
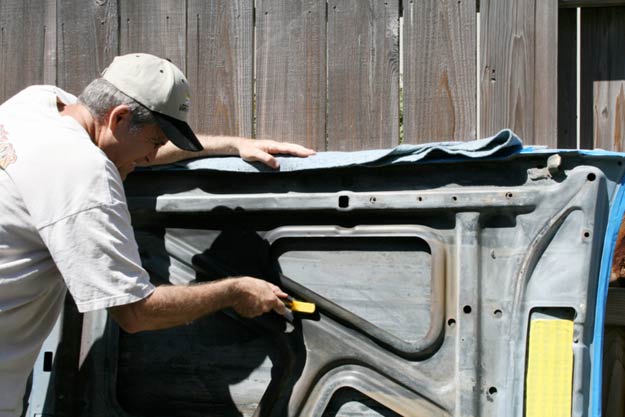 With the top side of the hood completely masked off, we set the hood against a fence. We used a couple of wood blocks to set the hood on— keeping it off the actual ground.
Here we’re using a wire scrub brush to remove grease, grime, overspray, and various other debris that makes the underside of the hood look downright terrible.
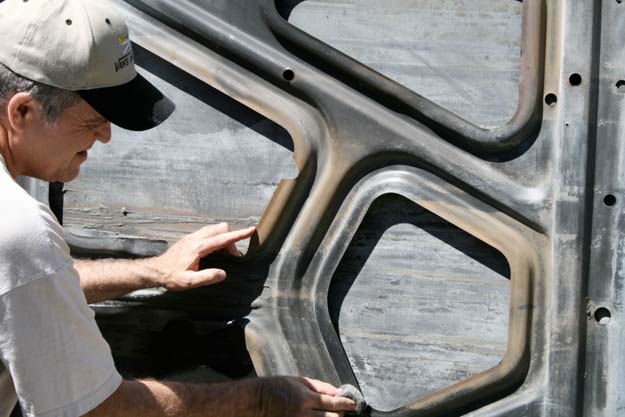
 A small section had some semi-serious rust happening. Nothing to get too excited about, but left unchecked, over time this could have led to perforation. On a freshly-painted hood, that would have, well, sucked. Some light wire-brushing, followed up with a couple of coats of POR-15, and all was right once again. In case you haven’t heard, POR-15 is a rust preventative paint that stops rust in its tracks. A must on projects like these.
 As a final cleaning prep, we took some 0 grade steel wool over the entire project.
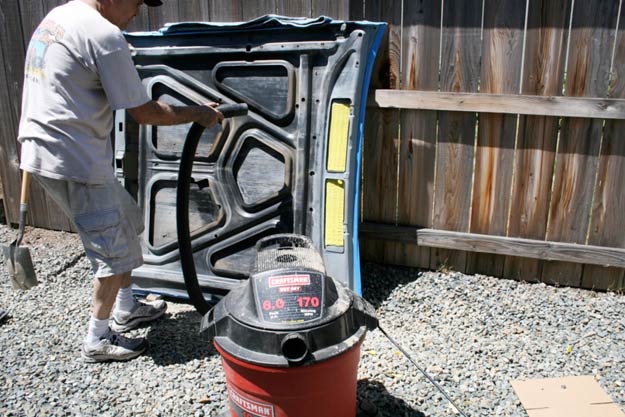 Before priming, we used a shop vac in the “blowing” mode, and blew off paint dust, steel wool debris, etc.
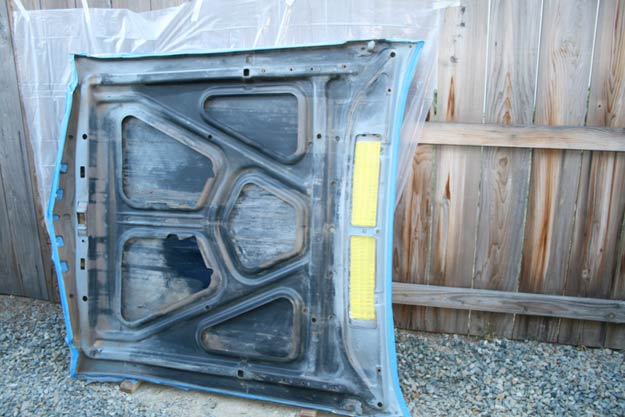 Here’s our hood, with a plastic sheet taped up behind it. We wanted to paint the hood, not our fence. At this stage, we took a rag and some de-greaser and wiped everything down again. As you can see, the yellow tape is masking off the hood’s vent slots. We also taped up the holes in the leading edge of the hood where the letters attach from the top side.
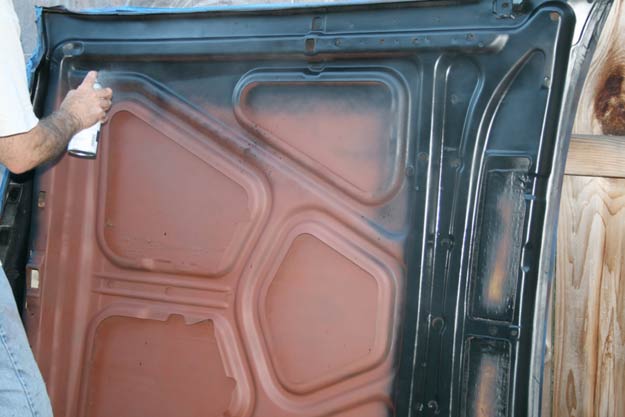
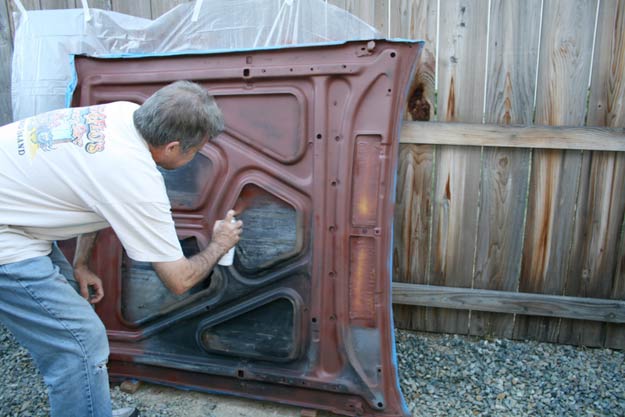 One can of Rust-oleum’s Rusty Metal Primer provided a nice base for our top coats.
 It took about a hour to completely dry. By the way, we’re spraying in the early evening, ambient temperature approximately 75F. Perfect.
 Time for our top coats. The folks at Eastwood Co. supplied us with 2 cans of their Underhood Black paint in aerosol format. The first can sprayed out nicely, the second can, not so much. A bad spray tip was the culprit. Two 11 oz. cans turned out to be nowhere near enough paint either. So, we relied on our trusty favorite AeroPRO (#5933) semi-gloss acrylic enamel to finish the job. Eastwood’s Underhood Black (ignoring the bad spray nozzle part) is actually a pretty nice paint and provides a smooth semi-satin finish. It took 3 cans of AeroPRO to finish the job though. Basically, we ended up using Eastwood’s paint as a primer.
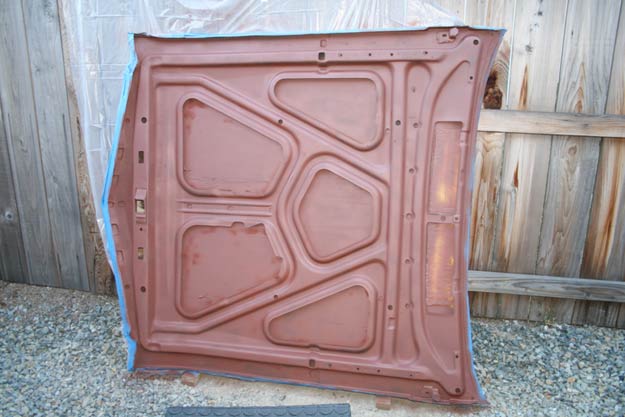
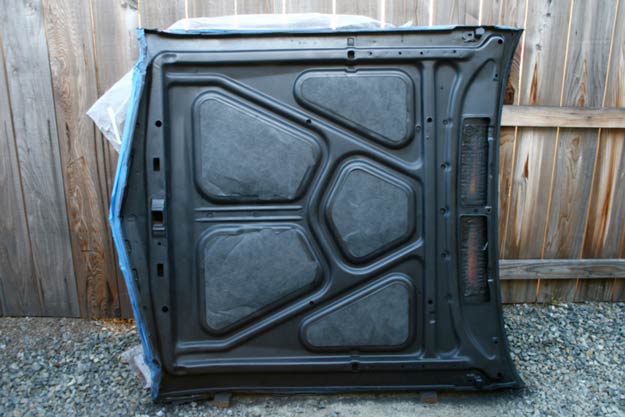
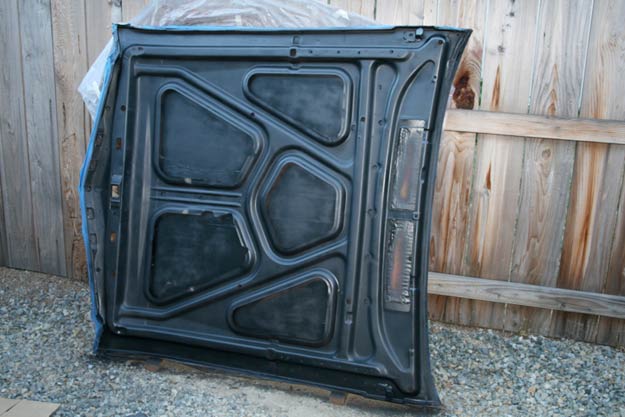 The hood, painted. Final tally: One can of rust primer, 2 cans of Eastwood Underhood Black, 3 cans of AeroPRO semi-gloss. And as you’ll note in the photo, we only went light on the coats where the hood insulation is going. So, if you’re planning on doing this kind of job by yourself with “rattle cans”, make sure you pick up lots of paint—hoods are very large pieces of sheet metal!
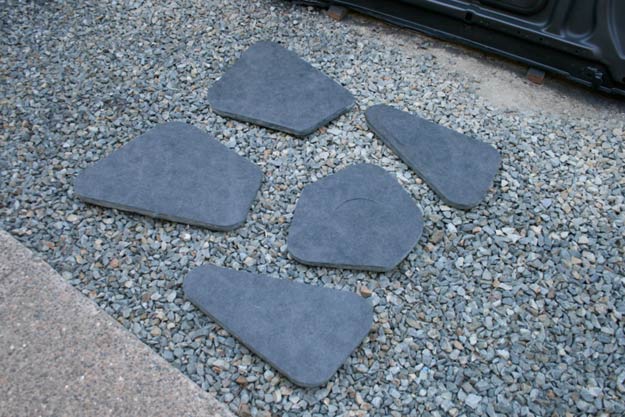 Here’s our new under hood insulation kit. This stuff is great! It’s an exact replacement part made of flame resistant fiberglass material, and it’s cut to fit our car’s under hood cut-outs perfectly.
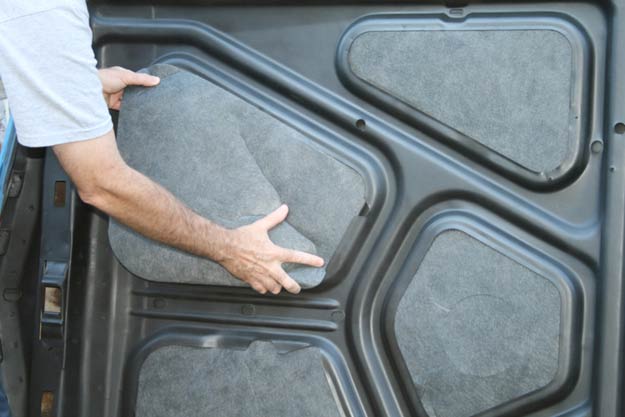 The individual sections have to be bent slightly to secure them into the hood’s individual recesses. It’s an easy job, and the end result looks great.
 All done. To finish off, we’ll remove that tape that was masking the hood’s vents, and paint in between the vents using a small brush.
We’ve had our hood hinges professionally restored too, so that hood is going to look fantastic when we bolt it back up!