Tire Cleaning: 101
- May 27, 2016
This may seem like a super simple little project, but believe me, when your tires have been coated in primer overspray, it’s not.
Our project Chevelle was in the shop undergoing bodywork, primer, more bodywork, more primer, some finessing bodywork, a little more primer…well, you get the idea. The car was moved around in the shop (a lot) over the course of the months, and quite often, our wheels and tires were the unlikely recipient of some nasty overspray, rubbing compound, etc.
Our tires are BFGs, the original factory 14” size, and the wheels are the SS style 5-spokes. Both are approximately 5 years old, but after the beating they’ve taken over the past few months, they look worn out– definitely not show-ready.
We’re going to show you a few tricks to get rid of overspray on tires, and make them look brand new. Be forewarned: this is not an easy task. It’s simple, sure, but it takes plenty of elbow grease, and approximately 1-1/2 hours per tire. Here we go…
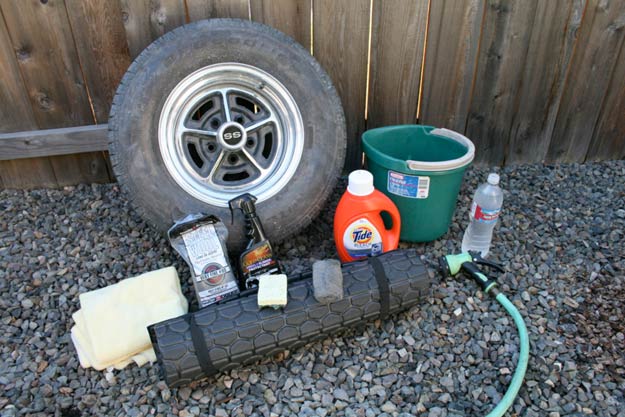
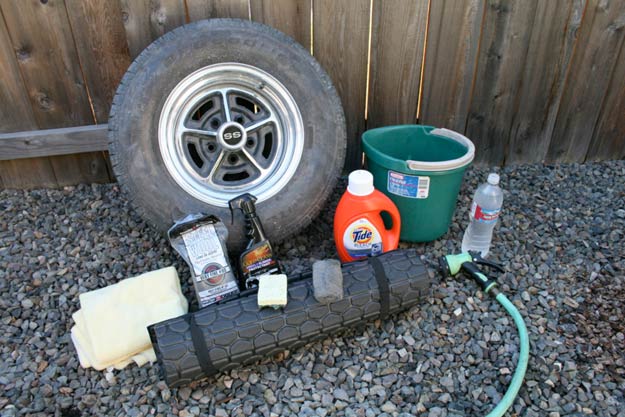 Here’s our “beauty” shot: Our wheel and tire, a few rags, a mat (for kneeling on), some 00 grit steel wool, a scouring pad, some 2X Ultra Tide (with bleach), a bucket, garden hose, some Meguiar’s Gold Class Vinyl/Rubber Protectant, and that bottle of water was for us. We’re doing this in 85F heat, but in the shade.
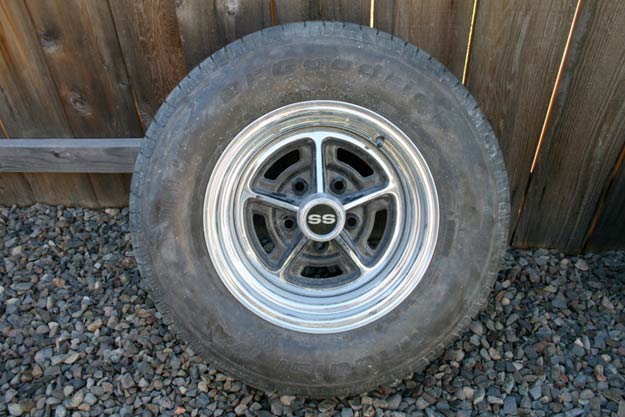 Here’s our “before” shot. That nasty overspray is a tough one, but we’ll git’er done.
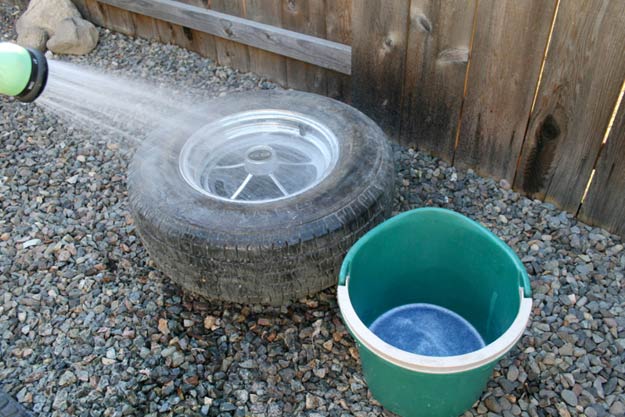 First step, hose that wheel and tire down. In the bucket: two capfuls of 2X Ultra Tide with bleach, mixed with about a quart of hot water. This is a super concentrated mix. You should use gloves during this project. We didn’t because, quite frankly, we forgot. The Tide won’t hurt your skin, but it does take a couple of days to get your hands feeling normal again. Your hands feel sticky and no amount of washing seems to get rid of it, just time.
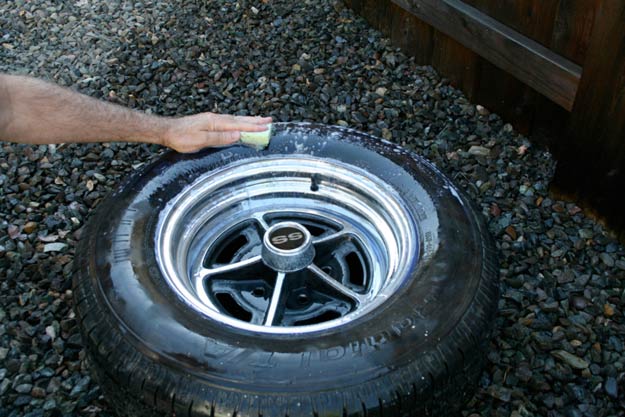 Using a scouring pad dipped in the Tide mix, we start rubbing in a circular motion. The suds immediately turn brown from just plain ol’ dirt.
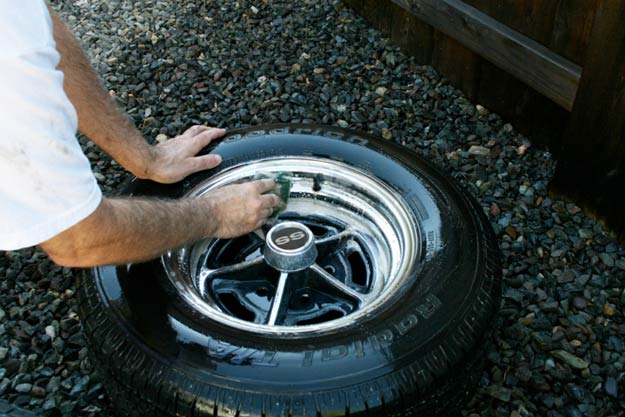 We’ll also take our first shot at the wheel at this point. We don’t use the hard side of the scouring pad, just the soft portion to remove loose dirt.
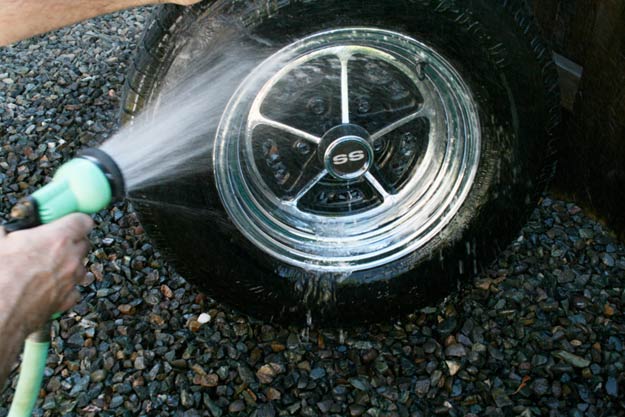 After a good initial scrubbing, we hose the wheel/tire down and get a look at what we’re up against.
We’re nowhere near clean yet. Another round with the scouring pad. More dirty soap suds. You can pretty much scrub as hard as you want here, the pad’s rough surface is not tough enough to scratch the tire’s sidewall. The object is to apply continual pressure in a circular motion, working away at the overspray.
We hose the wheel/tire down again…
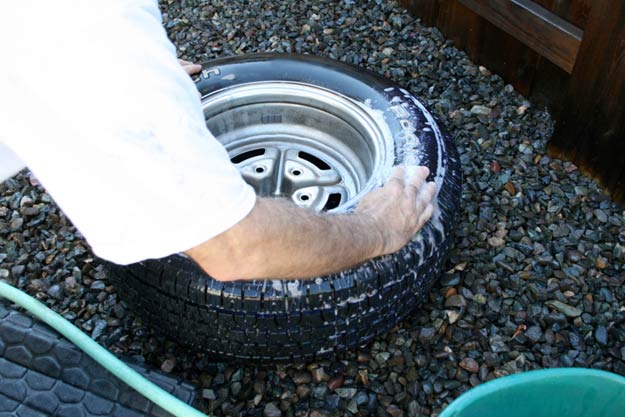 We’re not completely done with the front side of the tire yet. Now’s the time to tackle the back side. This is kind of important, just so when your wheels are turned or viewed from under the car they don’t look too filthy. We didn’t get too carried away here, just enough to remove the first few layers of crud. Note that we decided to keep the raised white letter side of the tires facing inward. Personal choice, just preferred the black sidewall look.
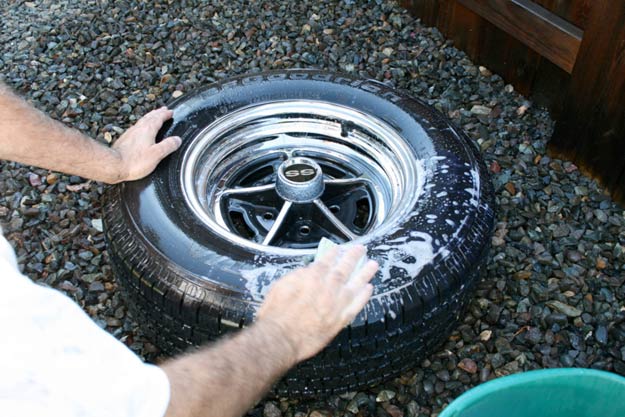 After hosing down the tire’s back side, we take a third crack with our scouring pad and super concentrated Tide mix. Then another rinse…
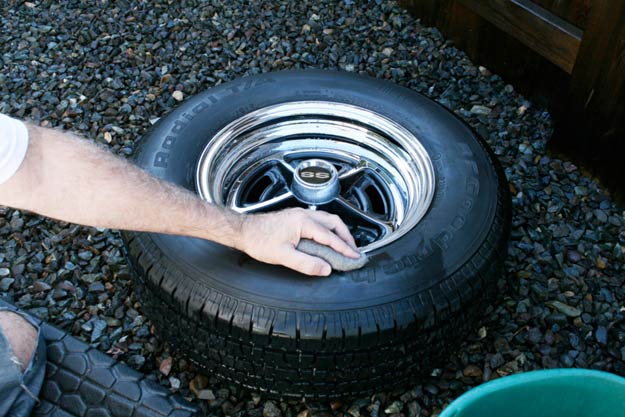 A few stubborn spots of overspray get taken care of with a pad of 00 grit steel wool. We recommend using the 00 stuff. Anything much coarser and you run the risk of permanently scratching the tire’s sidewall.
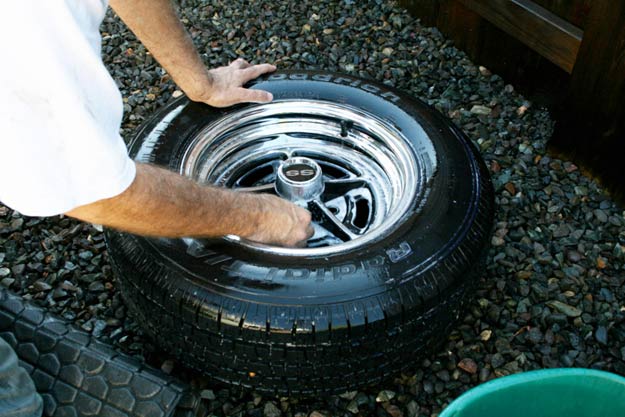 Our wheels get a thorough going-over again, this time with the rough side of the scouring pad, but lightly. If you scour too hard on the wheel’s black painted sections, you’ll start removing paint. We did, a little bit. Some black semi-gloss touch-up fixed it up new.
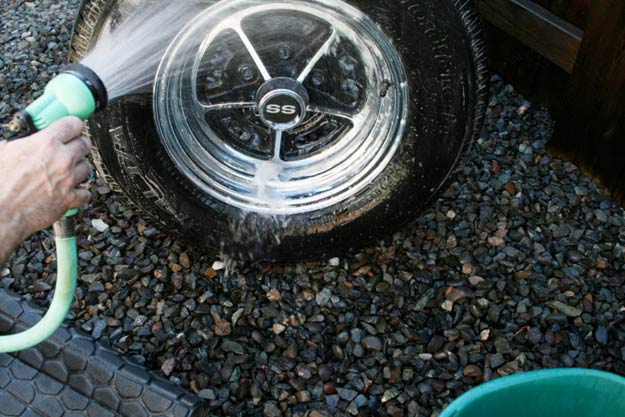 Another complete rinsing.
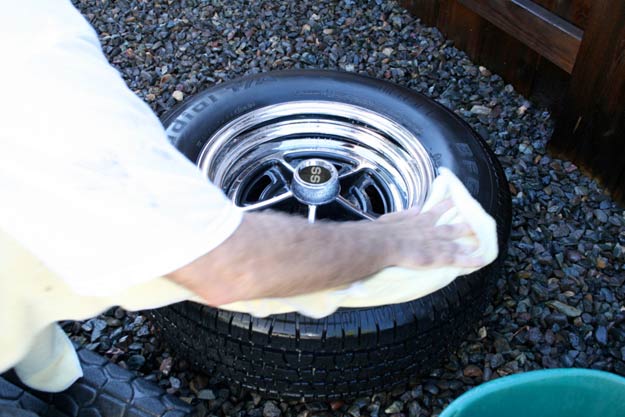 Satisfied that we’re getting somewhere with all that dirt and overspray, we take a soft cloth and give the tire a good wipe down. It’s not bad, but not quite there yet.
We give it another scrubbing, this time really focusing on the outer edge of where the wheel meets the tire. Dirt tends to accumulate here.
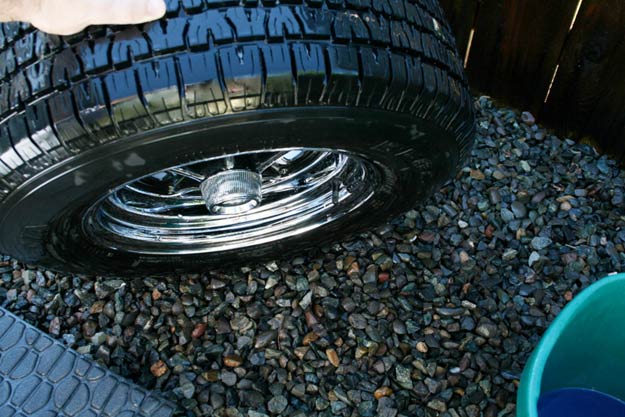 After yet another rinsing, we set the tire on a slight angle, letting excess water run out of the rims.
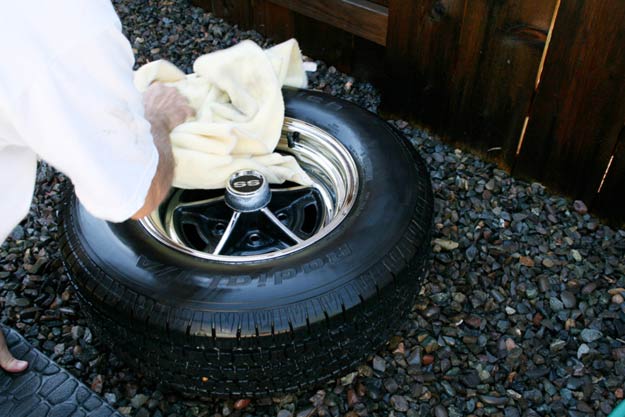 The wheel and tire get completely rubbed down again, this time making sure both are totally dry.
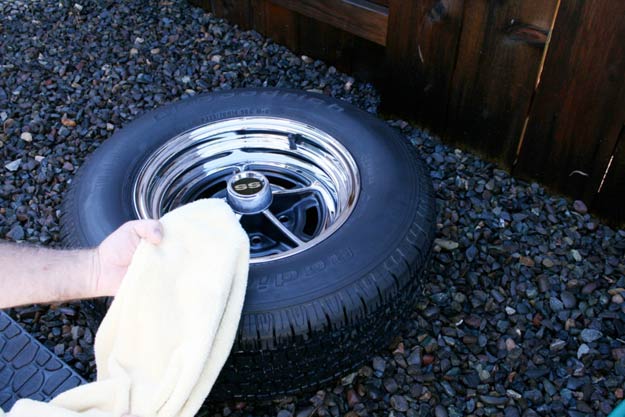 We’re good. No signs of dirt on the clean rag.
After drying off the backside of the wheel/tire too, we take yet another clean, soft cloth and spray a healthy dose of Meguiar’s Protectant on it.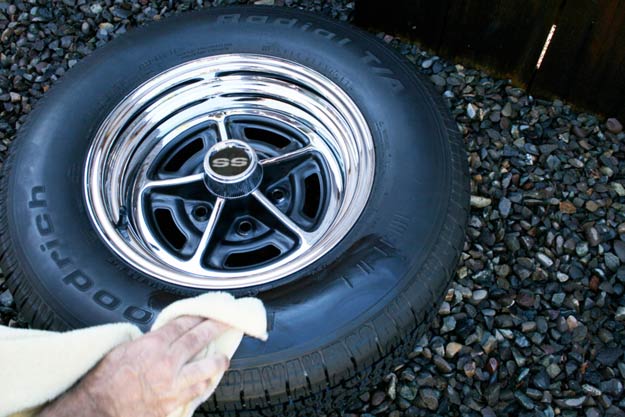 Rub the Meguiar’s in a circular motion into the tire’s sidewall. We did 3 separate “coats”, one right after the other.
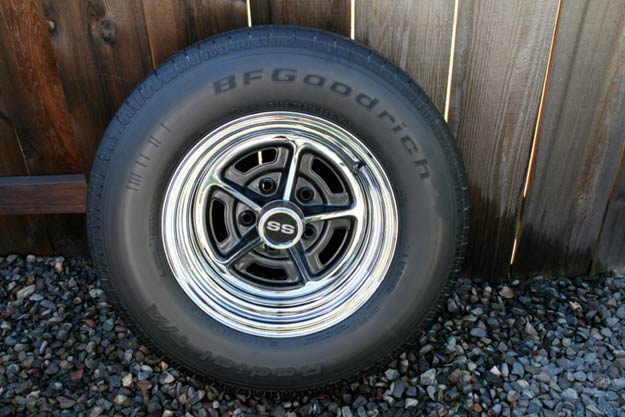 Done. The wheel and tire both look practically new. Elapsed time is well over an hour (per wheel/tire), but we think you’ll find the extra effort well worth it all when you see that nice new wheel and tire on your ride!
Shop for Tri-5 Chevy parts at www.ClassicChevy.com
Follow us on our Tri-5 Facebook page. Click here and Like us!


