


Wet Sanding
- Jul 24, 2015
Bodywork: Wet Sanding
Time: depends on size of area and repetition
Tools: soft-block sanding pad
Cost: approximately $40-50 for supplies
Tinware: 1000-4000-grit fine sandpaper, garden hose or bucket, clean rags, rubbing compound, high quality Carnauba wax
Tip: Choose an open, outdoor area that will allow you to run water continuously for extended periods of time.
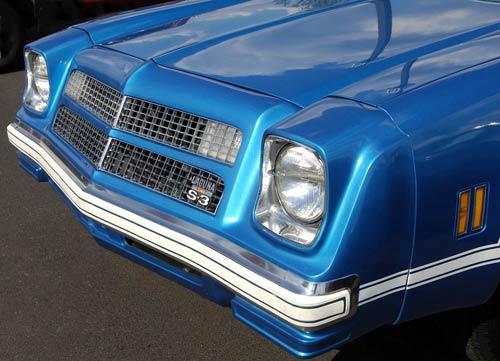
Performance gains: Properly wet-sanding your vehicle will make a night-and day difference in the final presentation and sleekness of your paint job.

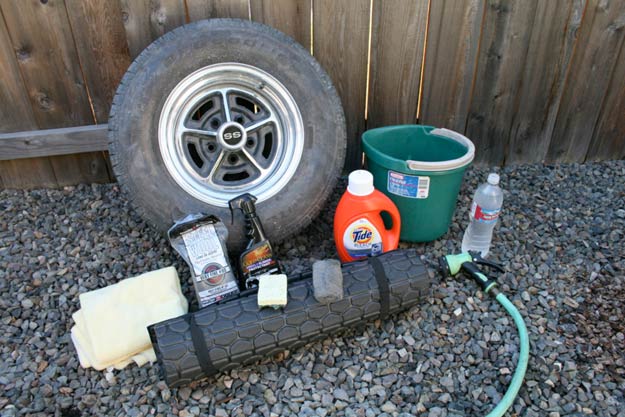
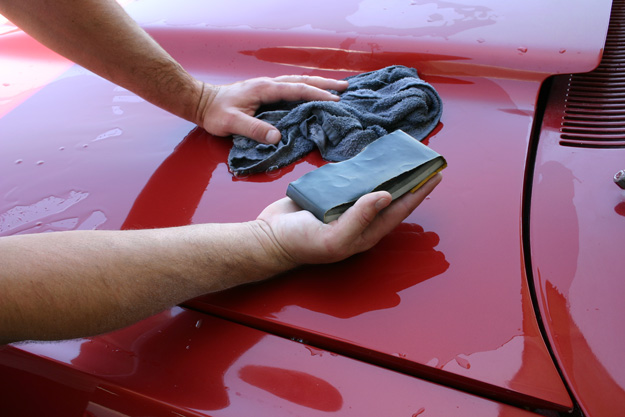
A soft sanding block, super-fine sandpaper, and plenty of water is all that it takes to get the job done.
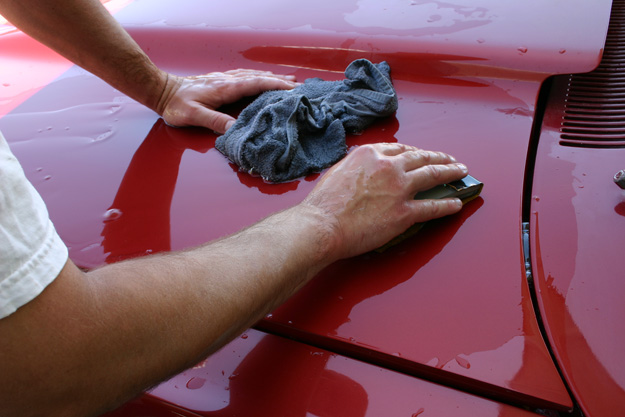
Lightly work the finish with the block while maintaining wetness with a clean rag or hose.
Wet sanding a vehicle after a fresh paint job is almost always mandatory. No matter how many hours are spent prepping and sanding the body before paint, the surface of the car will take on a somewhat coarse finish after the paint has dried. Once the paint has been allowed to properly cure, the application of very fine sandpaper and water can make a huge difference in the final gloss and appearance of your machine. In fact, some shops make a habit out of wet-sanding their paint jobs numerous times over.
We have all seen it. A new paint job can look absolutely stunning at first glance and from a short distance away. However, after closer inspection you begin to find small, circular dimples throughout the finish that closely resemble the pitted surface of an orange peel. Unfortunately, this is a common occurrence in the act of applying new paint. Even the veteran painters are plagued with the “orange peel” syndrome from time to time. In extreme cases, it can ruin the entire job. But most of the time, it’s easily fixable with some sandpaper and a little finesse. Starting with 1000-grit
paper, they slowly and meticulously work every line and contour of the newly-skinned metal. The process may be repeated for each different grit of paper used, often times all the way up to 4000-grit. This helps knock down the “orange peel” effect and eliminate any inconsistencies in the paint. You can bet the final finish is silky smooth and nothing short of awesome!
Although the art of wet-sanding is usually practiced in the body/paint shop area, it can effectively be used to clean stubborn residue and gunk off your car’s paint. Tree sap, bird droppings, and bug guts can be small killers on a nice paint job. They should be removed and cleaned as soon as possible. If left on the surface, these harmful agents are literally baked into the paint by the sun and can leave permanent markings and discoloration. If the standard soap-and-warm-water approach fails to budge and dissolve the gunk from the paint, try using a bug and tar remover. These products can safely be used on just about any painted surface, and with positive results. After the griminess has been thoroughly cleaned off, lightly wet-sanding the area should remove any could-be lasting marks from the finish.
The actual task of wet-sanding is pretty painless. It does not require much force or pressure to be applied to the paint in order to smooth the finish. Working in small, light passes around the problem area tends to be the most effective method. Heavy swipes can dig into the paint and cause excess scratching. Of course, this takes more work to fix than you originally bargained for. So go slow, and take it easy.
Grab some fine wet-sandpaper in the grit of your choice (generally speaking, 1000-grit is a good place to start), a clean rag, and either a garden hose or a clean bucket of water. The most important thing to remember when wet-sanding is keeping the area very saturated. If the surface begins to dry out during sanding, you run the high risk of scratching and damaging the car’s paint. One way to avoid this problem is to position and secure a hose to this particular area. Simply turn on the faucet and allow the water to continuously run over the paint and the sandpaper. If a hose is not available, a clean bucket of water and a rag will work in maintaining the desired effect. Sand a little, water a lot. Whether you have an entire body to smooth or perhaps just a small blemish, if you stick to these basic principles, the results will speak for themselves.
Sidebar:
Wet sanding paint chips:
If you’re touching up a paint chip, wet sanding can also yield beautiful results.
Here’s how to make that chip look like it never happened. Clean the chipped area thoroughly. Begin to fill the chip with a couple of light touches of touch-up paint. Tip: use a fine artist’s grade paintbrush, not the brush that comes with your touch-up paint! The touch-up brush is very wide and will yield sloppy results. We’ve even used the tip of a paper clip to apply paint to very small chips. Let dry for 24 hours. Add a couple more coats of touch-up, let dry. The goal here is to build up the paint in the chip so that it’s slightly higher than the rest of the car’s paint surface. Then, take a small patch of 1000-grit paper, soak in water, and water the area around the chip. Light back and forth movement with the paper will begin to “knock down” that higher paint spot. Finish with a 2000-3000 grit, working very lightly, until the filled in area is flush with the rest of the car’s painted surface. You’ll see the clear coat will look cloudy– that’s because you’ve cut the surface, ever so slightly. Now, take a good quality scratch and swirl remover (a light compound) and polish the area. You’ll see the shine come back. You may need to repeat this a few times, go lightly, you don’t want to dig into the clear coat any more than necessary. Finish off with a high quality Carnauba wax. You’ll never know the chip happened!
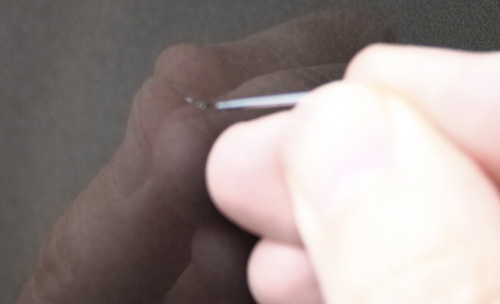
We’re got a real small stone chip here, so we’re using the tip of a paper clip to apply the touch-up paint.
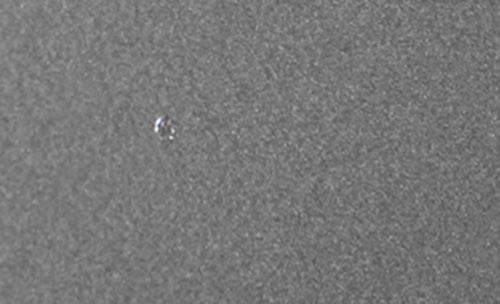
Look carefully, it’s there! We’ve built up the touched-up area slightly higher than the paint finish. Let dry at least 24 hours.
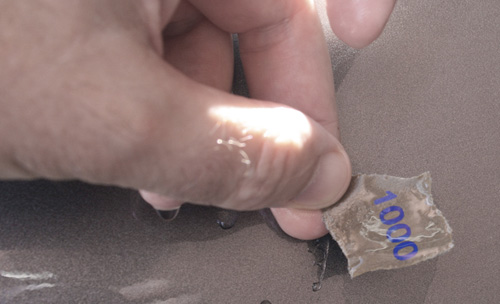
Using a 1000 grit wet sandpaper, we lightly “knock-down” the higher touch-up paint.
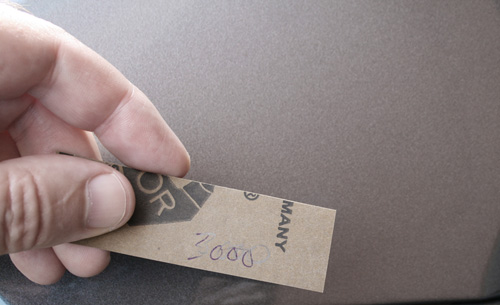
After the touch-up paint has been sanded to the same level as the paint’s surface, we give it a final smoothing with a 3000 grit wet sandpaper.
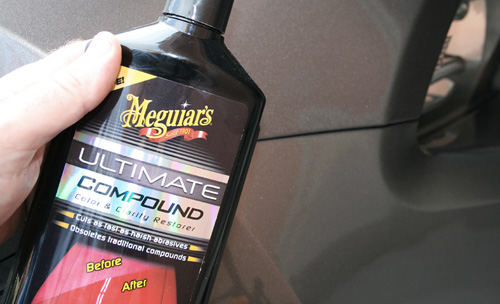
Next up is a high quality rubbing compound…
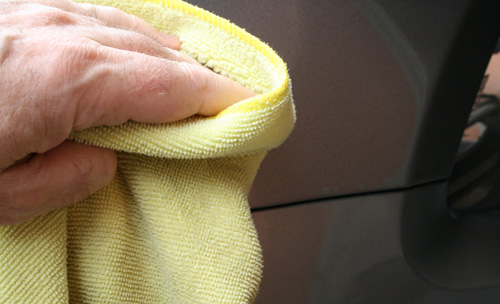
Using a microfiber towel, we apply a small dot of compound. This takes the haze out of the clear (from the aforementioned sanding).
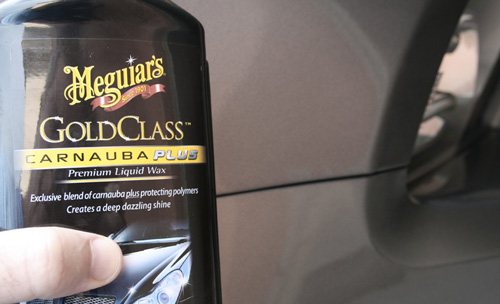
Finish off with a good coat of premium quality Carnauba wax. Bingo, chip’s gone!